Hello - I would like to share my new tank with all of you. Trials and tribulations. With the hope that you can praise, comment, disagree, provide warning, advice suggestions or possibly learn something from my DIY aquatic adventure.

Small introduction - I grew up with aquariums, Avid Gardener for 10+ years and recently renewed my interest in aquariums when i found a free 5g. Two years later... Since then i have had multiple tank syndrome.
Right now i have
2G - Guppy - Platty
5G - Tettra - Raspora - Pleco - Shrimp
30G - Short Long Tank
10foot Shoreline at the Cottage
30G - Paludarium - work in Progress 60/40 water/land
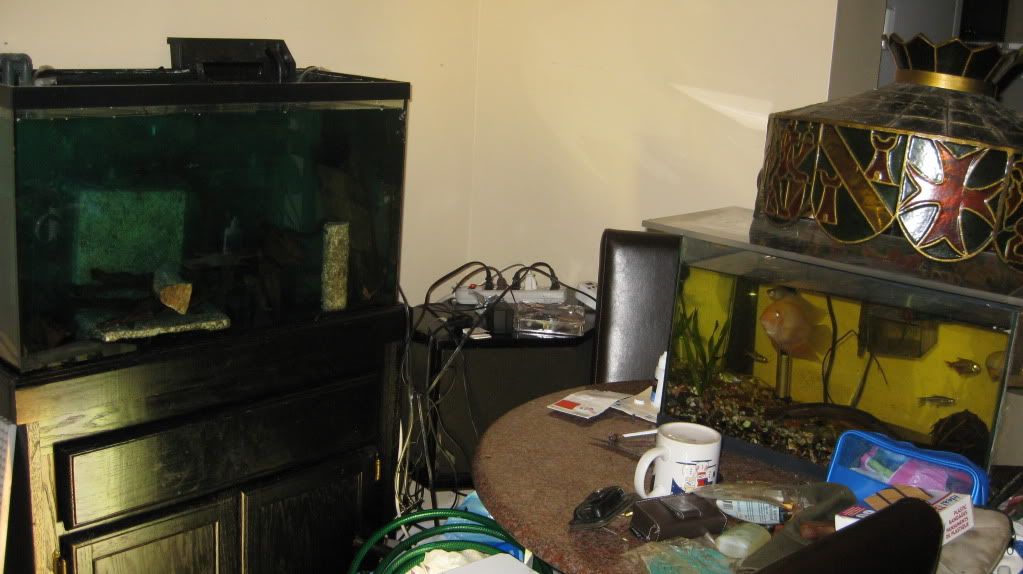
DIY BACKGROUND
After doing some research the Plan for the 30G paludarium. I decided to make a background out of the styrofoam that is not recommended. The White Stuff, the reasoning was that I already had several pieces that seemed suitable. They had existing nooks and crannies that would be suitable for plants and caves. I shaped them further with a heat gun, to create less uniform edges etc.
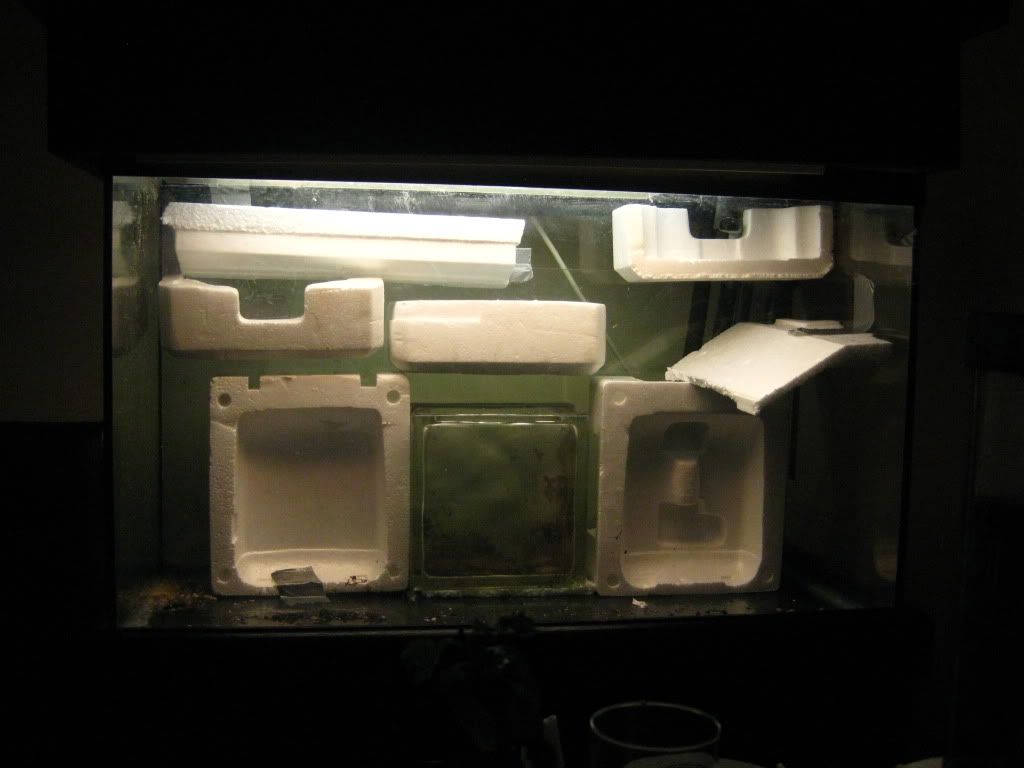
PAINT
I then Painted them with a tan acylic latex mixes slightly mixed with sand. then dusted sand on top. Three coats later with thicker sand mixtures i let dry 24hours between coats.
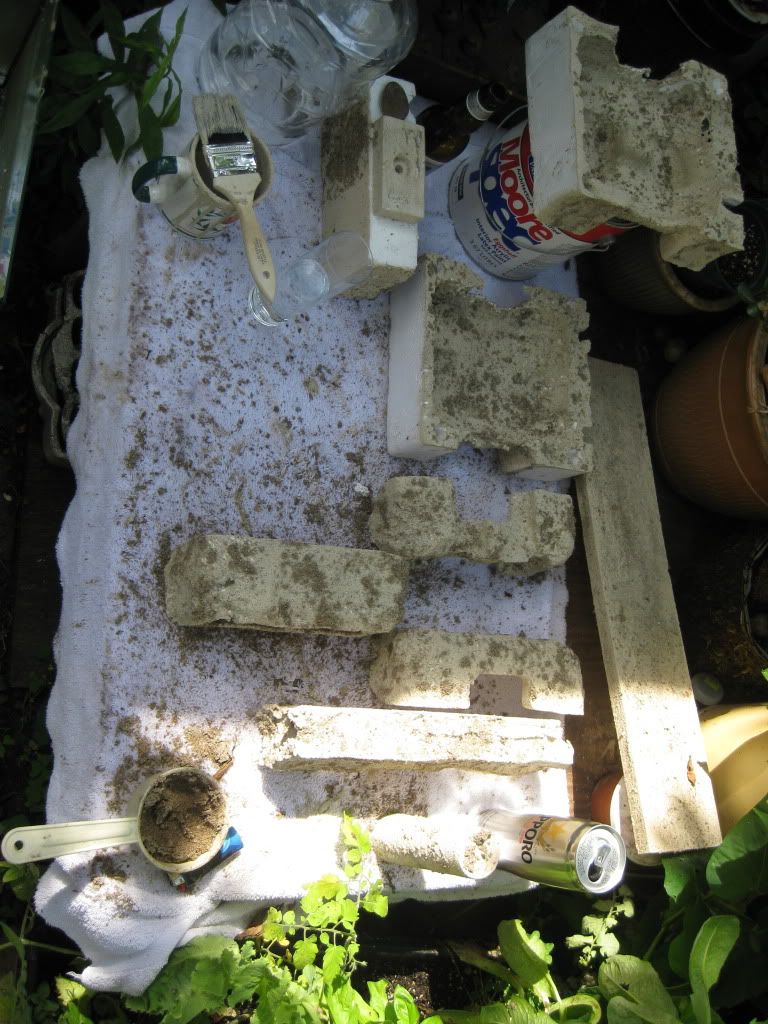
I also experimented with Vermiculite and the packing material for Yams - Peat soilish with fiber threads that are similar to coconut.
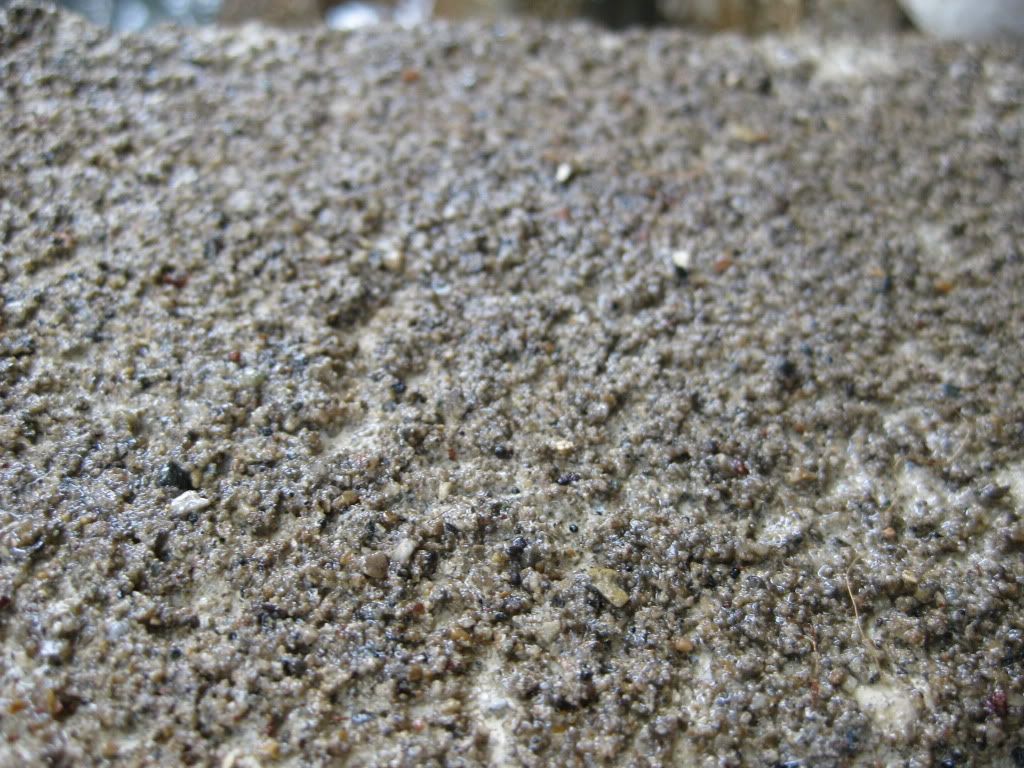
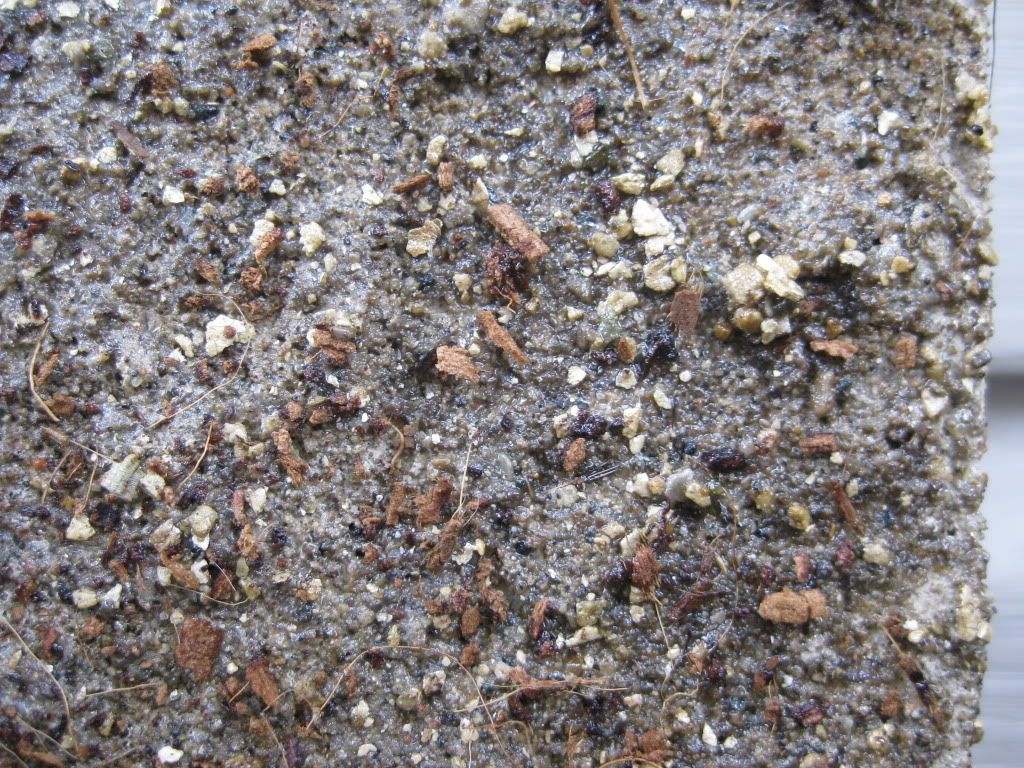
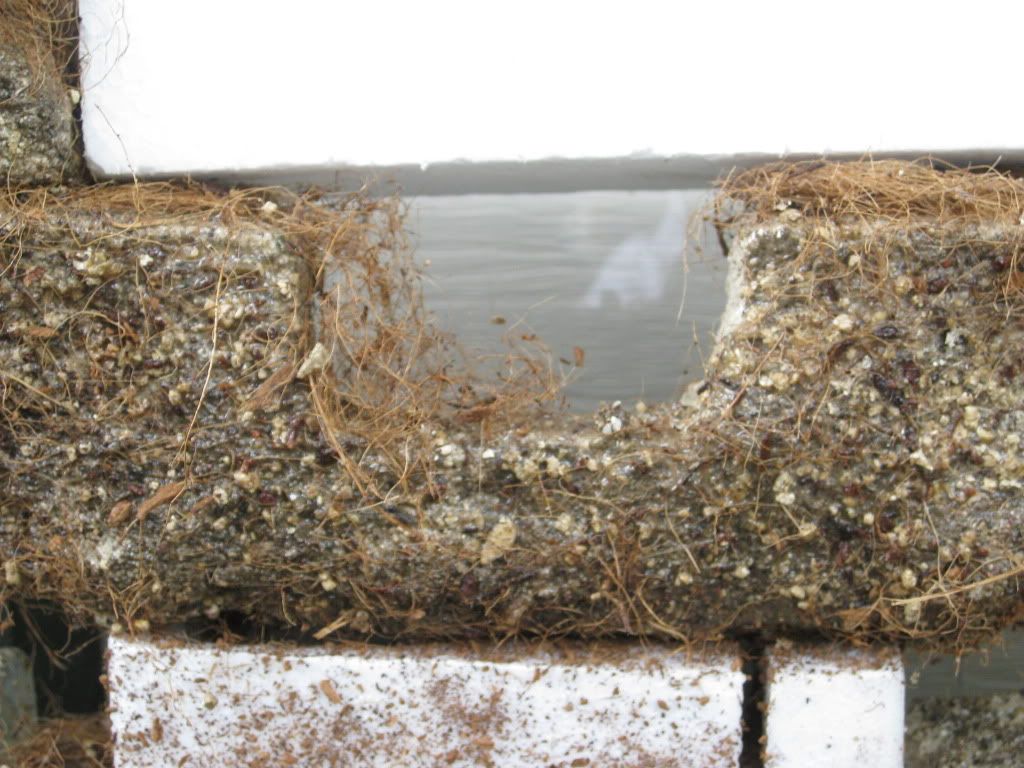
The Vermiculite looked great but tended to absorb to much of the epoxy.
EPOXY
Next I used West Systems Epoxy and Hardener. Drying times took forever. After 4 days was still sticky - Finally I went on vacation so I could dry indoors. Without breathing in the vapors. Which by the way gave me a nagging cough when I applied outdoor with a fan. Being a smoker probably did not help.
SILICONE
90Degree
I decided that I did not want to silicone my background to the tank. This is my first background and wanted to be able to change or remove all or parts without having to buy another tank.
My solution was to silicone two pieces of glass and plexi together at a 90 degree angle. The first attempt failed. Although after cutting slight grooves into the plexi the silicone bonded better.

BOYANCY ISSUE
Why use the two pieces you might ask - well - needed something to counter the styrofoams boyancy and figured the gravel would be able to hold it down. I also planned on using one of those slightly translucent glass blocks that are hollow. Figured that would be necessary, filled with gravel to counter boyancy issues.
I then Siliconed the pieces onto the glass, using egg grate (eggcrate not sure which is correct) and Undergravel Filter to raise them above the future substrate. After some further reading I decided to not use the UGF and Ripped it out.
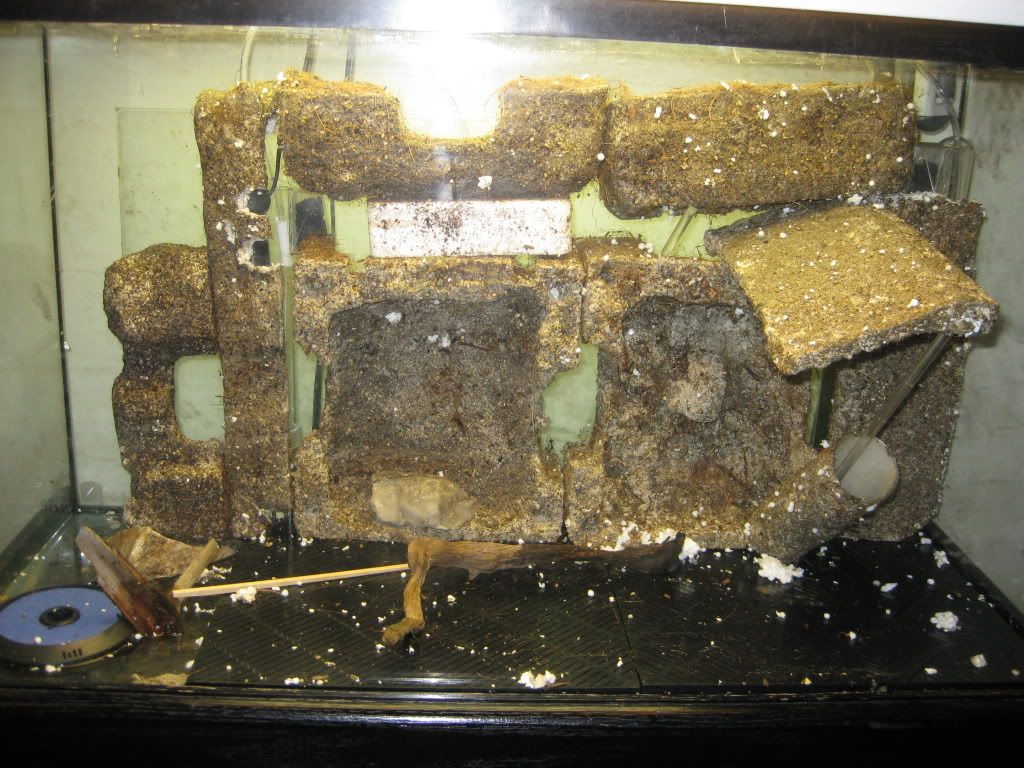
Finally used Epoxy on top everything and let it seep between any holes.
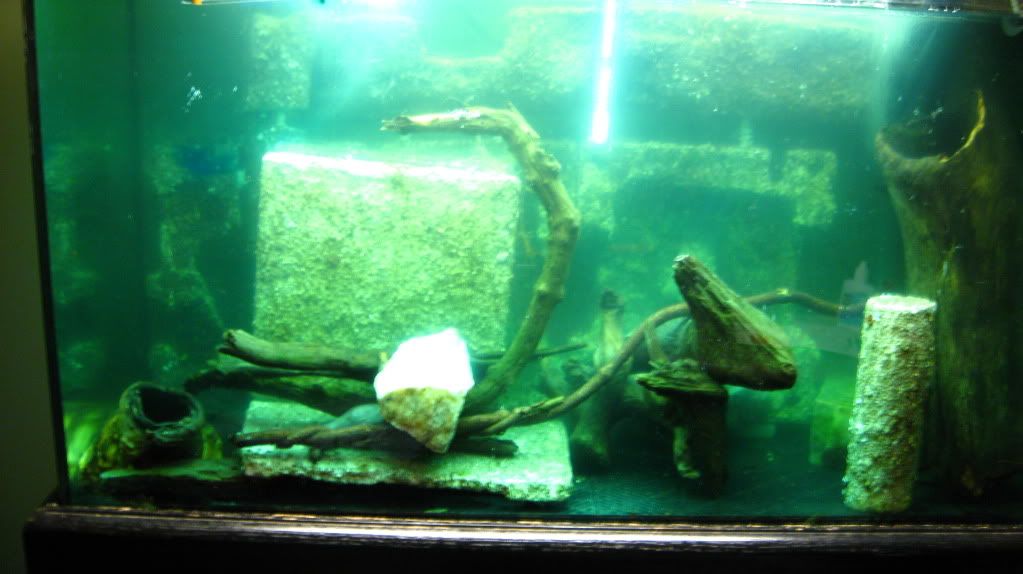
Did several water cycles - tried a blue pond dye
NATURAL ELEMENTS
Found various pieces of driftwood to add realistic look and feel. I really like the ones where nature has hollowed out the knot where a branch used to be.
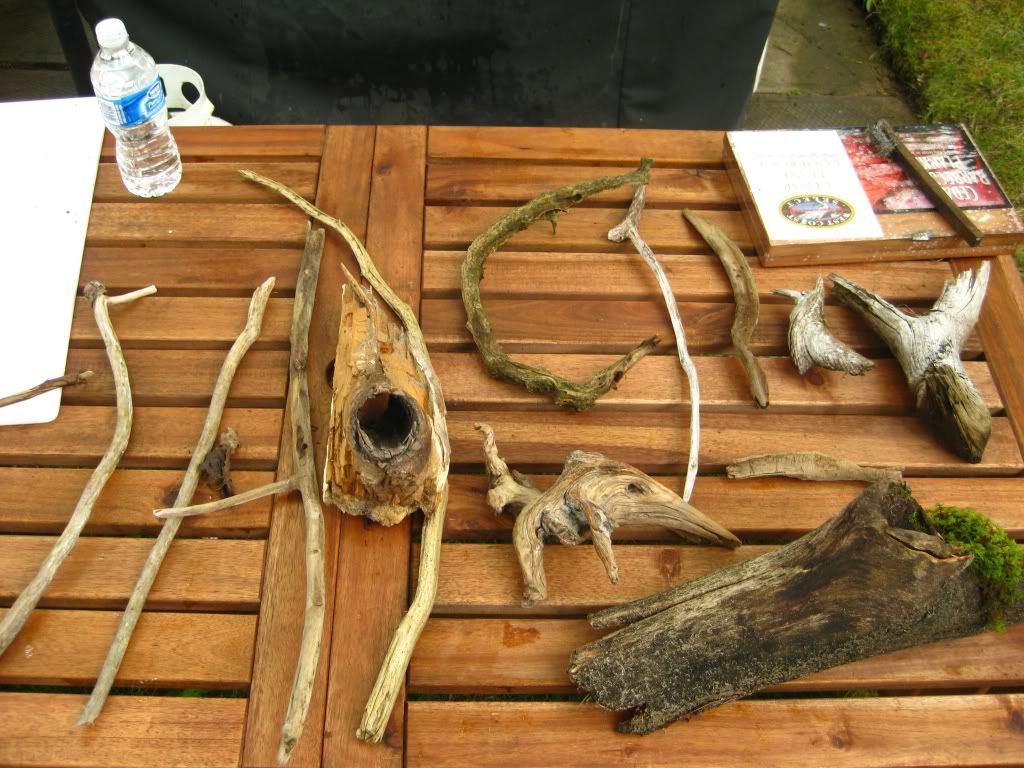
Also gathered some long pieces that hopefully would make the waterfall into a drip effect.
SUBSTRATE
Started a thread here
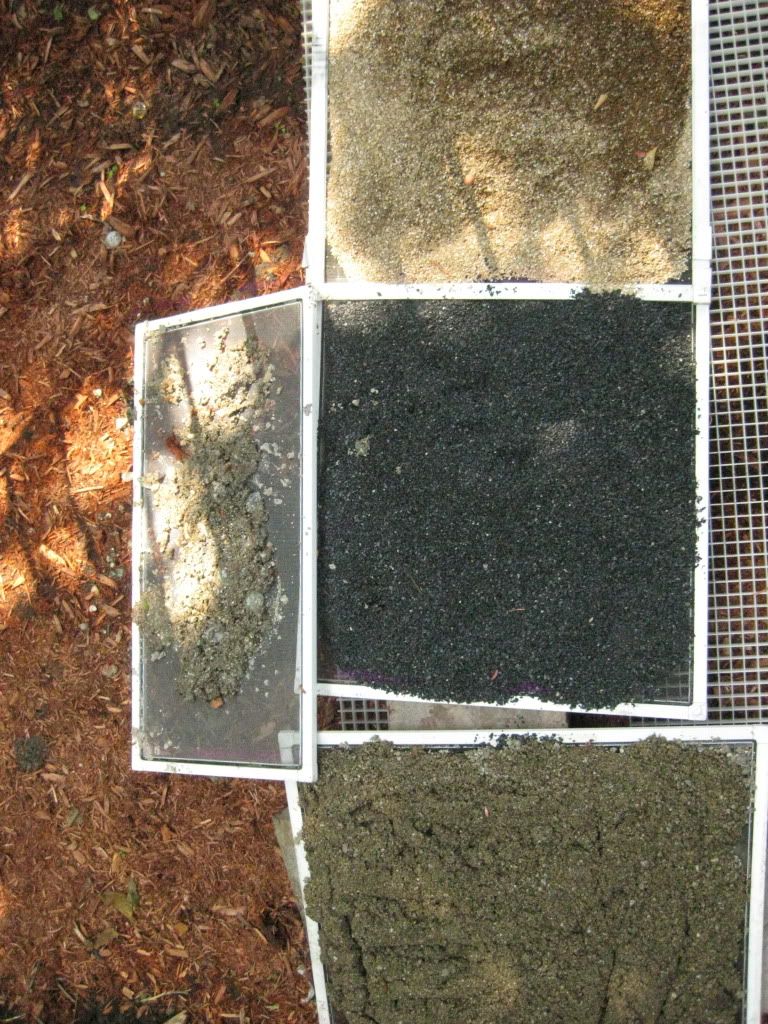
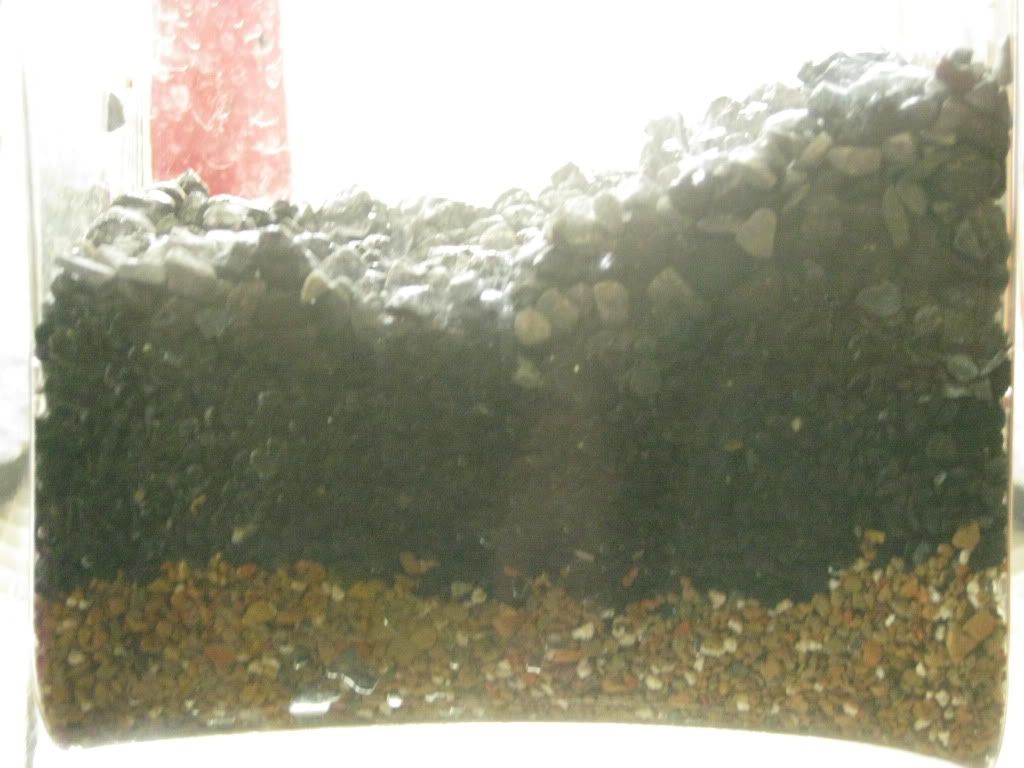
Zeolite - Flourite - Laterlite - Sand
Flourite - zeolite - acrilite - laterlite - Grvel - Sand
LIGHTING
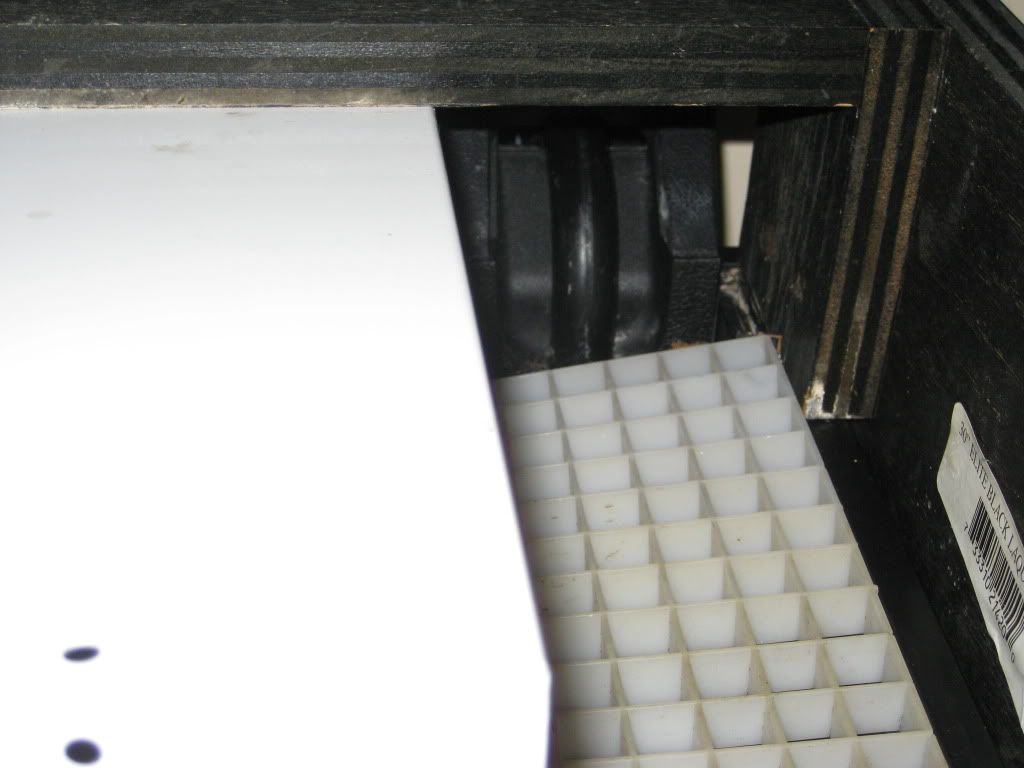
Used an existing 4 tube Florecent from garden Tiered unit. Will mix Cool and Warm to achieve full spectrum.
Using a 4" computer fan to cool it off - Enclosed by wood
Sitting on top of light Diffuser (egg grate)
EQUIPMENT
Fluval 304
Marineland filter
150w submersible heater
Air Pump
Mist Maker
Future DIY co2
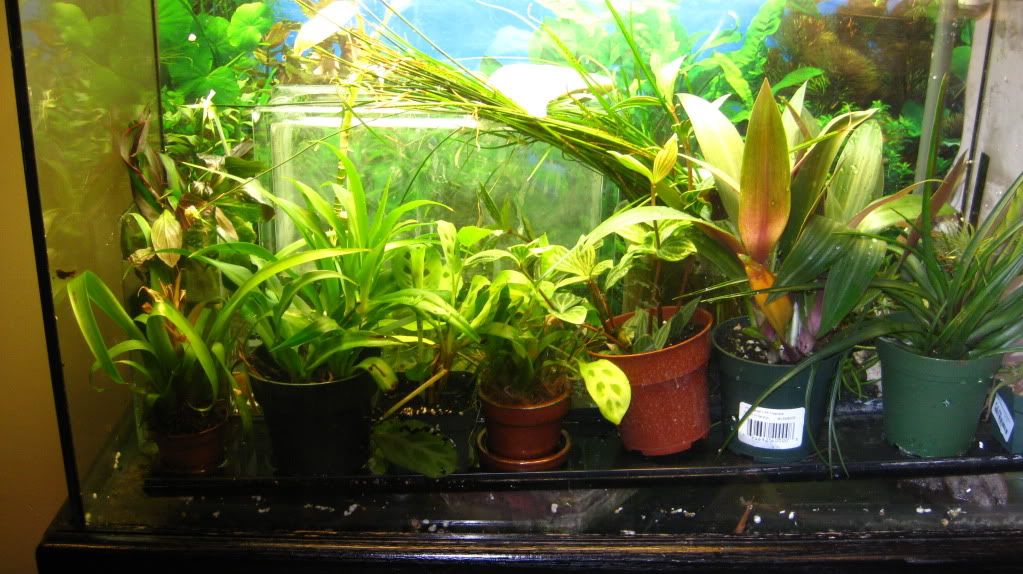
FLORA Aquatic / Mix / Above
Need to take better care when getting plants most of the names escape me, some are available but will not go into detail at this moment. Will take detailed photos and gather names and post a different thread for help.
FAUNA
Tetras - Pleco - Shirmp - Cory - Loaches - Would like to add a Crab - Salamander and frogs if i get ambitous enough.
PRESENT
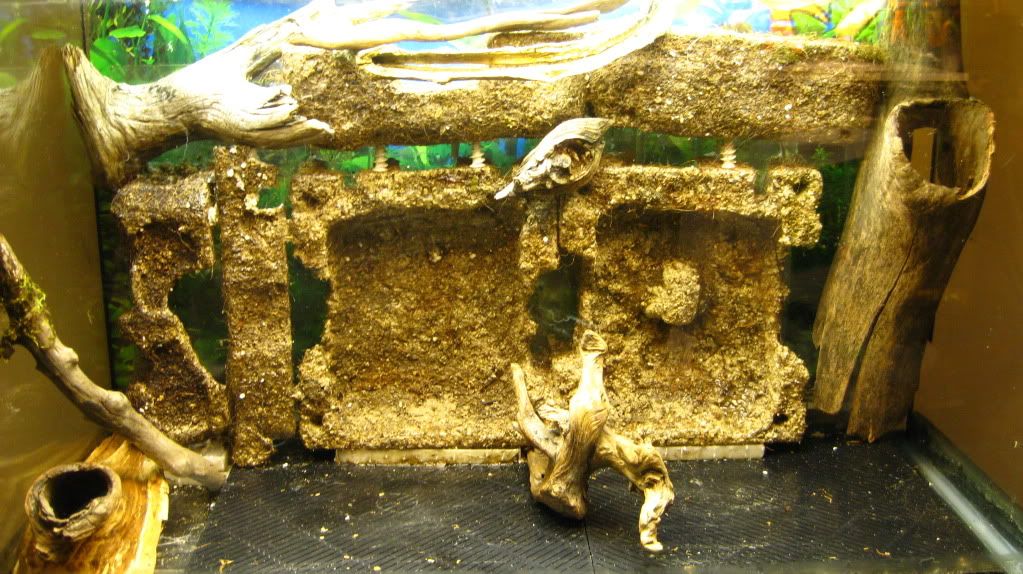
Right now it looks like this
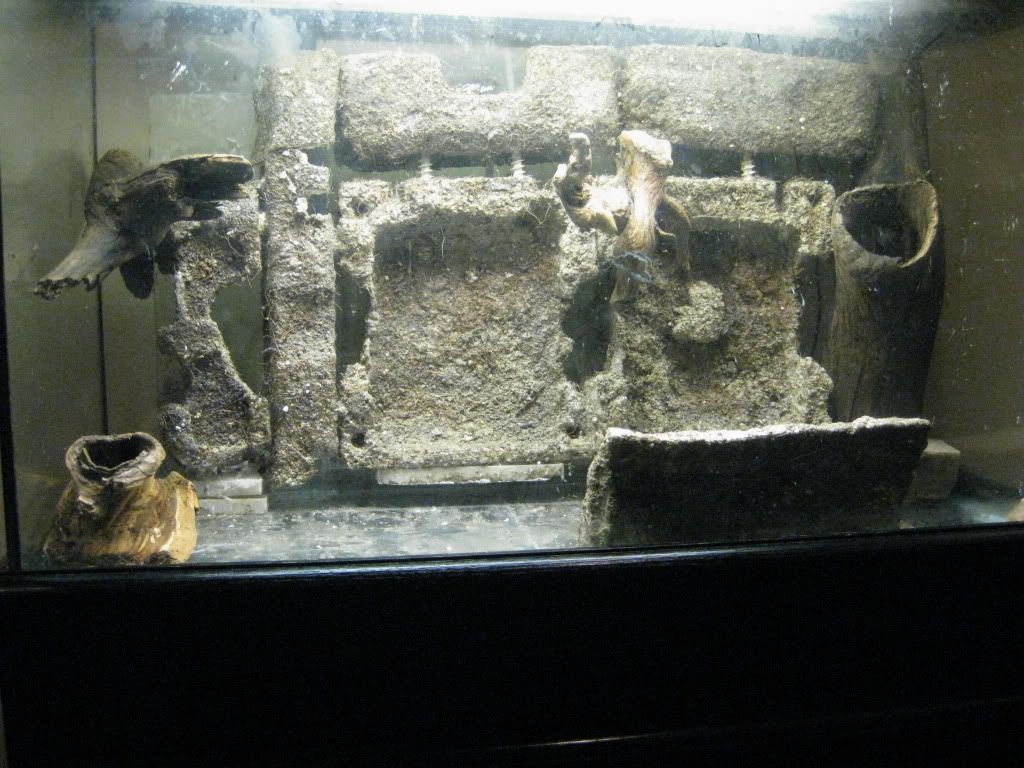
The piece on the bottom right was going to be a beach, but now will probably end up being a waterfall.
The water level will be just under the lip of the 2 blocks
Left block is a cave
right beside that was part UFG tube and Fluval Intake - Might close it off - Has space for future equipment the top presently pops off.
The Right Wood Piece is removable
Need to camoflage the White Screws - Maybe Wrap some moss or Fiber.
Would like to remove those egg crates for more space for substrate, but there in pretty stiff.
FUTURE

Need to figure out substrate - mix
Hope Lighting is enough
Figure out My Flora and Fauna
DIY CO2
Thanks for reading browsing Viewing.
Destructive or Constructive Critism all welcome.


 30G Palu Bakground - Substrate

 Sponsored links


 Linear Mode


